NJ-QRP SMK-1 Enclosure
Homebrew enclosure kit for the SMK-1 Transceiver
![]()
NJ-QRP
SMK-1 Enclosure
Homebrew enclosure kit for the
SMK-1 Transceiver
![]()
NEWS ... Sold out! The kit has been retired. See article in NorCal's QRPp magazine for homebrewing details.
Download
the Enclosure Kit Manual
Contains detailed diagrams to follow in homebrewing your own enclosure.
(Zip file is about 1.5 MB ... please be patient.)
 |
 |
| SMK-1
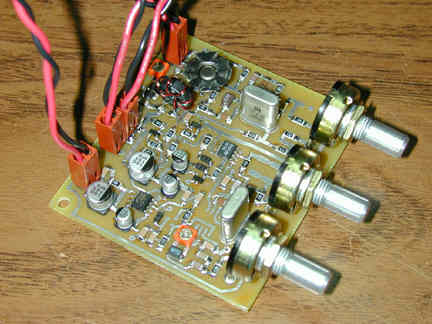
40-meter QRPp Transceiver Designed by Dave Fifield, AD6A and the NorCal QRP Club |
SMK-1
Enclosure Kit Precision-cut double-sided PCB material kit, including all controls hardware, knobs, rubber feet, pcb standoffs, and acetate labels for front and rear panels. See details and additional photos below. Designed and kitted by the NJ-QRP Club |
| Click HERE to go to NorCal's SMK-1 web page for complete kit details and ordering instructions | See details of the SMK-1 Enclosure Kit on this page below. |
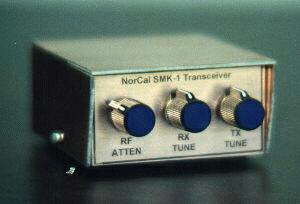
The NJ-QRP Club is pleased to offer another "first" for the QRP community: a homebrew enclosure kit made entirely from double-sided copper-clad pcb material. Working closely with NorCal in the introduction of their SMK-1 transceiver, we designed an enclosure tailored to the small-sized SMK-1 and created a kit of all parts needed to finish off this surface mount transceiver.
Included in the
SMK-1 Enclosure Kit ...
==> 8
precision-cut copper-clad pc boards which, when soldered together as
instructed, form the enclosure seen on this page;
==> 3 knobs (for the pots included on the SMK-1 pcb from NorCal);
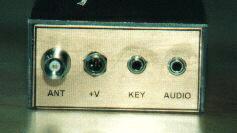
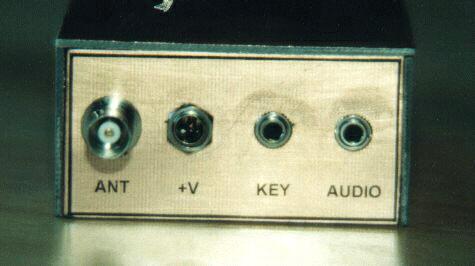
==> Rear panel hardware: two 1/8" audio jacks, a 2.1mm coaxial DC power jack, and
a BNC connector;
==> 2 small screws to hold the top half of the case to the bottom;
==> 4 small screws and two nylon spacers to hold the SMK-1 pcb in place;
==> 4 rubber feet
==> drilling template for front, rear and side panel holes
==> pre-printed front and rear panel labels on clear acetate, suitable for gluing to
the enclosure to give it a professionally finished appearance; and
==> a 10-page, detailed instruction manual to guide the homebrewer through
construction and finishing of the SMK-1 Enclosure.
Additional
views of the SMK-1 Enclosure ...
- 3/4 front
view ... low resolution or higher
resolution
- 3/4 rear view ... low resolution or higher
resolution
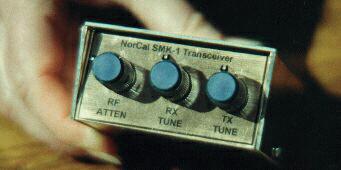
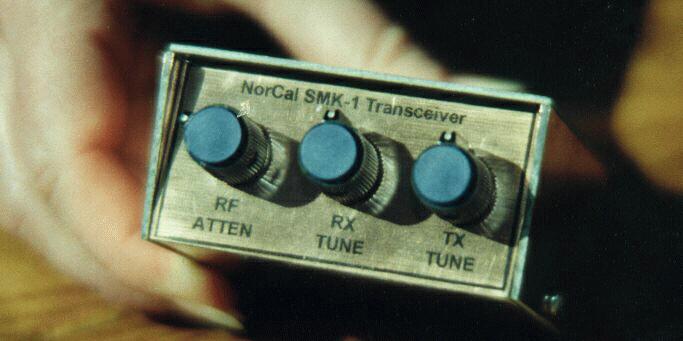
- hand-held front view (size comparison) ... low resolution or higher resolution
- rear view ... low resolution or higher
resolution
- bottom view (shows rubber feet) ... low resolution or higher resolution
- side view (shows hooded side panels and fastener) ... low
resolution or higher resolution
Comments
from beta builders ...
We had 7 QRPers
build the pcb enclosure in preparation for the unveiling of this kit. A sampling of the
feedback is shown below:
- "Wow, took only 50 minutes to put this enclosure kit together, and it looks just
like the pictures!" - K2HPV
- "My prototype enclosure went together just as planned, with nary a hitch. Looks
great." - N2CX
- "Had a little trouble holding the pcb pieces while soldering, but it got easier
once I got the knack." - AA2XY
- "I can believe how good this copper-clad box looks when all cleaned and shined up!
I'm going to leave it just like this i.e., no painting". - N2CQ
- "It's amazing how everything fits together so well. Careful pre-cutting and
pre-drilling of the material is sure a time and quality saver." - WA2ECP
- "Takes me 15 minutes to put these enclosures together, having done it several times
now." - N2APB
Side Note ...
This is the
same design and assembly technique being used for the Enclosure option for the NJ-QRP SOP
Receiver Kit.
![]()
![]()
![]()
![]()